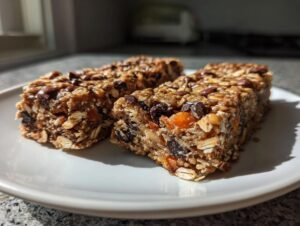
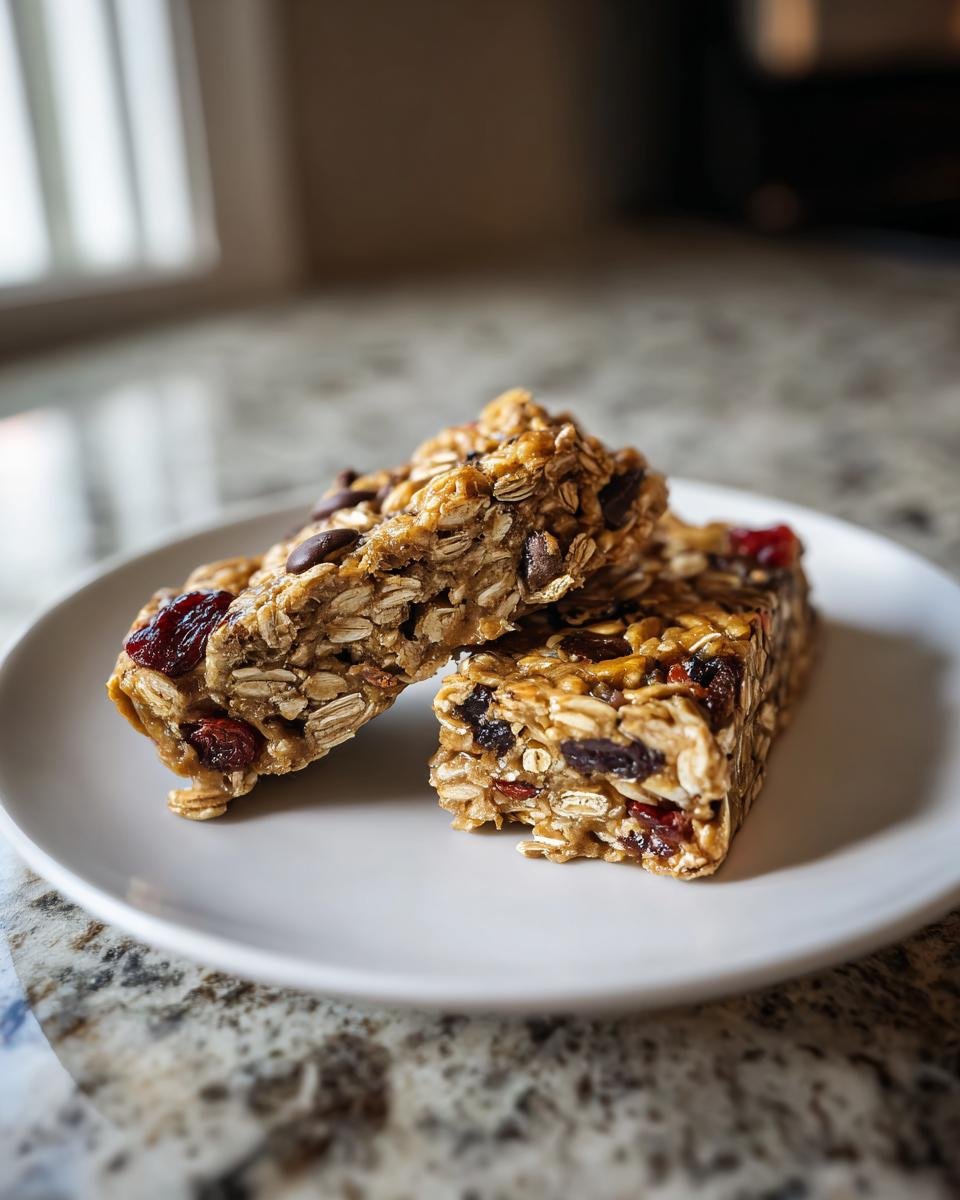
Oh my goodness, let me tell you about my homemade protein bars! Making your own protein bars is such a game changer for healthy snacking. You get to control what goes in, and trust me, it’s so much easier than you think! I was on a quest to find the perfect balance of flavor and nutrition, and I finally hit the jackpot with this recipe. Packed with wholesome ingredients, these bars are not only delicious but are also tailored to fit your taste buds!
One of my favorite things about these protein bars is how customizable they are. Don’t like raisins? Toss in some chocolate chips instead! Want a nut-free option? Go for sunflower butter! The possibilities are endless, and you can whip these up in just 15 minutes (plus a little chilling time). Seriously, it’s a no-bake wonder that makes healthy snacking a breeze! So, let’s dive in and get started on making your very own protein bars!
Ingredients List
Here’s what you’ll need to whip up these delightful homemade protein bars. I promise, nothing is too complicated, and you probably have most of these ingredients in your pantry right now!
- 1½ cups old-fashioned rolled oats
- ¾ cup peanut butter (or any nut or sunflower butter)
- 1 banana, mashed
- ⅓ cup honey, agave, or maple syrup
- A pinch of salt
- ½ cup ground flax seed
- 1 cup protein powder (you can choose chocolate, vanilla, or plain)
- 2 teaspoons vanilla extract
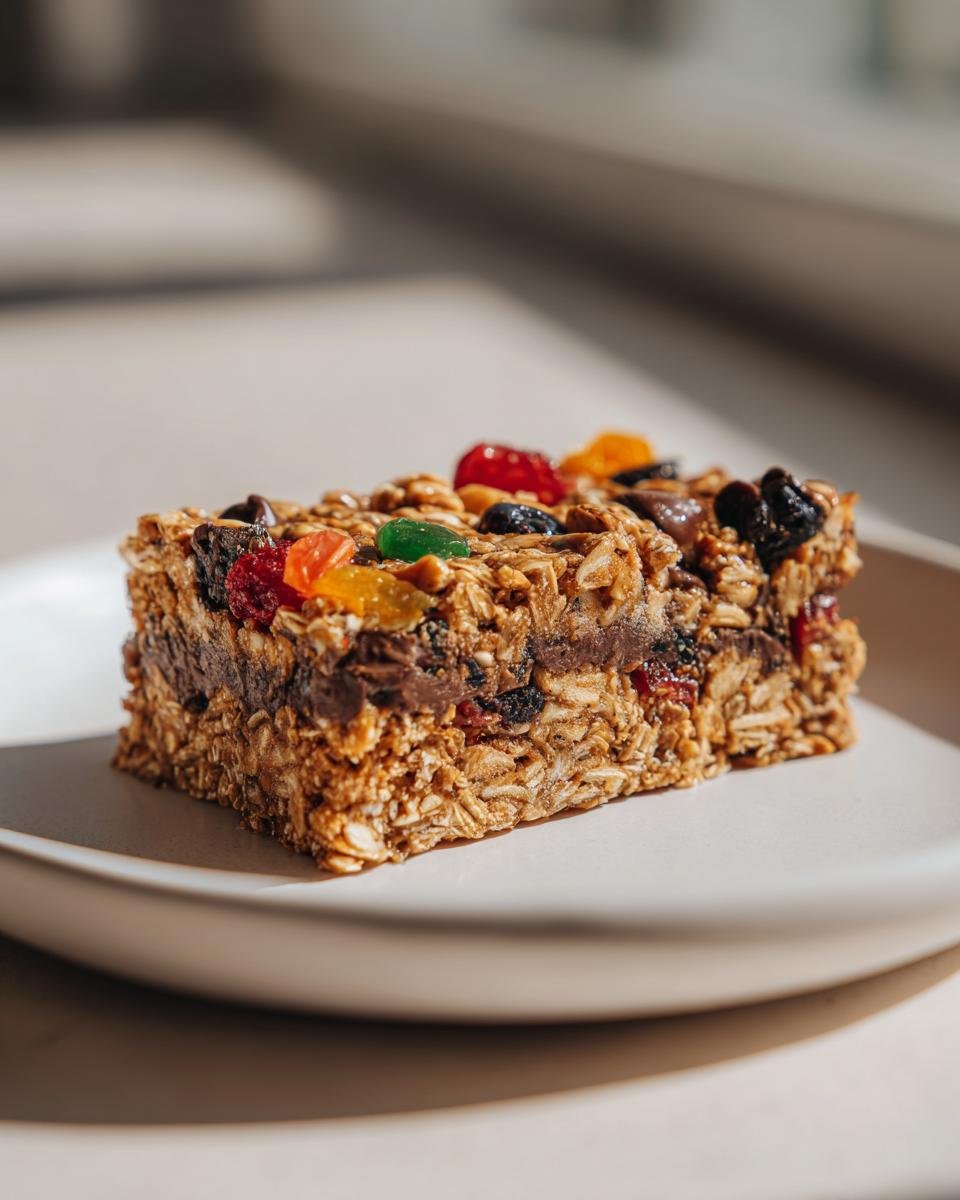
- ¾ cup mix-ins (like chopped dates, dried fruit, mini chocolate chips, coconut flakes, or nuts)
Feel free to get creative with your mix-ins! The great thing about these protein bars is that they’re super adaptable, so you can really make them your own. Ready to get started?
How to Prepare Protein Bars
Alright, let’s get down to the nitty-gritty of making these amazing protein bars! It’s a straightforward process, and I promise you’ll feel like a kitchen superstar in no time. Just follow these simple steps, and you’ll be enjoying your homemade protein bars before you know it!
Step 1: Mix Ingredients
First things first, grab a large bowl and toss in all your ingredients except for the mix-ins. You want to get that peanut butter, banana, honey, oats, flax seed, protein powder, and vanilla in there. Then, using a sturdy spoon or spatula, mix it all together until everything is well combined. It should look like a thick, sticky dough that holds together nicely. If it feels too dry, don’t hesitate to add a splash of milk or a drizzle of honey to bring it all together!
Step 2: Add Mix-Ins
Now, it’s time to fold in those delightful mix-ins! Gently add your chosen extras – whether it’s chocolate chips, dried fruit, or something else that tickles your fancy. Use a spatula to carefully fold them in, making sure they’re evenly distributed throughout the mixture. This step is super important because you want every bite of your protein bar to be packed with flavor and texture!
Step 3: Prepare the Pan
Next up, let’s get your pan ready! Take an 8×8-inch pan and line it with parchment paper, leaving some overhang on the sides. This little trick will make it so easy to lift out the bars later! Now, pour your mixture into the lined pan and press it down firmly. I like to use my hands or the back of a spatula to really pack it in. You want it to be compact, so it holds together like a dream!
Step 4: Refrigerate
Finally, here comes the hard part – the waiting game! Pop your packed pan into the refrigerator and let it chill for at least 1 hour. This step is crucial because it helps the bars set up nicely. Trust me, you’ll want to resist the urge to dive in too soon! Once that hour is up, you can take it out, slice it into bars, and enjoy your delicious homemade protein bars that are packed with nutrients and flavor!
FAQ about Protein Bars
Can I use different types of protein powder?
Absolutely! You can use a variety of protein powders in this recipe. Whether you prefer chocolate, vanilla, or even unflavored options, each will give the bars a unique taste. I’ve even experimented with half protein powder and half collagen peptides, which adds a nice twist and extra benefits for your joints. Just keep in mind that the flavor and sweetness may vary depending on the type you choose, so adjust the honey or mix-ins accordingly!
How long do these bars last?
These homemade protein bars are pretty durable! If stored in an airtight container in the refrigerator, they’ll last about a week. I like to cut them into bars and layer them with parchment paper to keep them from sticking together. You can also freeze them for up to three months! Just wrap each bar in plastic wrap or foil, and pop them in a zip-top freezer bag. When you’re ready to enjoy, let them thaw in the fridge or at room temperature!
Are these protein bars suitable for kids?
Definitely! These protein bars are a fantastic snack for kids, packed with nutrients and healthy energy. The oats and nut butter provide great fuel for their busy bodies, while the protein powder helps with growth and recovery after play. Plus, you can get creative with mix-ins to keep them exciting. My kids love when I add mini chocolate chips or dried fruit, making it a fun treat that feels like dessert but is actually healthy!
Why You’ll Love This Recipe
- Quick to make: Whip these up in just 15 minutes, plus a little chill time!
- No baking required: This recipe is as simple as mixing, pressing, and refrigerating.
- Nutritious: Packed with wholesome ingredients that provide sustained energy.
- Customizable: Change up the mix-ins to suit your taste or dietary needs; the options are endless!
- Kid-friendly: A delicious and healthy snack that kids will love, making it easy to sneak in some nutrition.
- Perfect for meal prep: Make a batch ahead of time and have healthy snacks ready to go all week!
Tips for Success
Getting your homemade protein bars just right is all about a few simple tricks! Trust me, these tips will help you dodge common pitfalls and elevate your protein bar game to the next level!
Use the right consistency for your nut butter
Make sure your peanut butter (or whatever nut butter you’re using) is creamy and smooth. If it’s too dry or stiff, your bars may end up crumbly instead of chewy. If you’re using natural peanut butter, give it a good stir to mix in the oils before measuring!
Don’t skimp on the mixing
Mixing is key! You want to ensure that all your ingredients are well combined before you add the mix-ins. This ensures that every bite is flavorful and has that great chewy texture. If it feels too dry, like I mentioned earlier, don’t hesitate to add a splash of milk or another drizzle of honey to get that perfect sticky dough!
Press firmly for the best texture
When you press the mixture into the pan, really give it some muscle! The more compact it is, the better your bars will hold together once they’re chilled. I like to use a piece of parchment paper to press down evenly without sticking to my fingers!
Experiment with chilling time
While I recommend a minimum of 1 hour for chilling, feel free to leave them in the fridge longer if you can! The longer they set, the firmer they’ll be, making them easier to slice. If you’re in a hurry, just make sure they’re solid enough to cut without crumbling.
Store them properly
To keep your protein bars fresh and delicious, store them in an airtight container in the fridge. Layer them with parchment paper to prevent sticking. If you decide to freeze them, wrap each bar individually to maintain their taste and texture. They’ll be ready for a quick grab-and-go snack!
With these tips, you’ll be well on your way to creating the most delicious and satisfying protein bars possible. Happy snacking!
Nutritional Information Section
Here’s the scoop on the nutritional values for each homemade protein bar. Knowing what you’re munching on can make it even more satisfying! Each bar packs a punch of nutrients while keeping things balanced:
- Calories: 184
- Fat: 9g
- Saturated Fat: 1.5g
- Unsaturated Fat: 7.5g
- Trans Fat: 0g
- Carbohydrates: 18g
- Fiber: 3g
- Sugar: 6g
- Protein: 10g
- Sodium: 50mg
- Cholesterol: 0mg
These protein bars are not only delicious but also a fantastic source of energy to keep you going throughout the day. Enjoy knowing you’re fueling your body with good stuff!
Storage & Reheating Instructions
Storing your homemade protein bars properly is key to keeping them fresh and delicious! Once you’ve sliced them up, you’ll want to place them in an airtight container. I recommend layering them with parchment paper to prevent sticking. This way, you can grab one easily whenever you need a quick snack!
These bars will happily stay fresh in the refrigerator for about a week. If you’ve made a big batch or want to keep some on hand for later, go ahead and freeze them! Just wrap each bar individually in plastic wrap or foil, then pop them into a zip-top freezer bag. They’ll last up to three months in the freezer.
When you’re ready to enjoy a frozen bar, simply take one out and let it thaw in the fridge for a couple of hours, or at room temperature for about 30 minutes. No need for reheating, as they’re perfect at room temperature or chilled! Enjoy your protein-packed snack anytime you need a little boost!
Serving Suggestions
Alright, let’s talk about how to make your protein bars even more satisfying! While these bars are fantastic on their own, pairing them with a few complementary snacks can create a balanced and delicious treat. Here are some of my favorite serving suggestions:
- Fresh Fruit: Slice up an apple or banana to enjoy alongside your protein bar. The natural sweetness and extra fiber make for a perfect match!
- Greek Yogurt: A dollop of Greek yogurt adds creaminess and a boost of protein. You can even drizzle a little honey or sprinkle some cinnamon on top for added flavor!
- Nut Butter Spread: If you can’t get enough of that nutty goodness, try spreading a thin layer of peanut or almond butter on your protein bar for an extra punch of flavor and healthy fats!
- Trail Mix: Pair your protein bar with a handful of trail mix for a crunchy, satisfying combo. The mix of nuts, seeds, and dried fruit adds texture and variety!
- Milk or Plant-Based Milk: Enjoy a glass of your favorite milk or a nut milk with your protein bar. It’s a great way to wash it down and enhance the overall snacking experience!
These suggestions not only elevate your protein bars but also help you create a more balanced snack that’ll keep you energized throughout the day. Get creative and mix and match based on what you love!
For more recipes follow me in page Pinterest.
Print
Protein Bars: 7 Reasons You’ll Love This Easy Recipe
- Total Time: 1 hour 15 minutes
- Yield: 12 bars 1x
- Diet: Vegan
Description
Homemade protein bars packed with nutrients and flavor.
Ingredients
- 1½ cups old-fashioned rolled oats (135 g)
- ¾ cup peanut butter (or any nut/sunflower butter) (180 g)
- 1 banana, mashed (120 g)
- ⅓ cup honey, agave, or maple syrup (110 g)
- Pinch of salt
- ½ cup ground flax seed (55 g)
- 1 cup protein powder (120 g)
- 2 teaspoons vanilla extract (10 ml)
- ¾ cup mix-ins (about 90 g): chopped dates, dried fruit, mini chocolate chips, coconut flakes, nuts, etc.
Instructions
- In a large bowl, mix all ingredients except the mix-ins until well combined.
- Fold in mix-ins until evenly distributed. The mixture should be soft and slightly sticky, not dry. If needed, add a splash of milk/water or a drizzle of honey.
- Line an 8×8-inch pan with parchment paper. Press the mixture very firmly into the pan.
- Refrigerate for at least 1 hour before slicing into bars.
Notes
- Protein powder: Chocolate, vanilla, plain, or half protein powder + half collagen peptides.
- Chocolate version: Use chocolate protein powder and chocolate chips.
- Nut-free: Use sunflower butter.
- Vegan: Use plant-based protein powder and maple syrup.
- Gluten-free: Use certified GF oats and protein powder.
- Prep Time: 15 minutes
- Cook Time: 0 minutes
- Category: Snacks
- Method: No-bake
- Cuisine: American
Nutrition
- Serving Size: 1 bar
- Calories: 184
- Sugar: 6g
- Sodium: 50mg
- Fat: 9g
- Saturated Fat: 1.5g
- Unsaturated Fat: 7.5g
- Trans Fat: 0g
- Carbohydrates: 18g
- Fiber: 3g
- Protein: 10g
- Cholesterol: 0mg
Keywords: Protein Bars, Healthy Snacks, Homemade