As a busy mom, I know how challenging it can be to whip up something fun and festive for the kids, especially during Halloween. That’s why I love to make these fun Halloween dirt cups for a treat the kids will love! They’re not just easy to prepare, but they also bring a delightful spookiness to the table. With layers of creamy chocolate pudding and crunchy Oreos, these cups are a hit at any Halloween gathering. Plus, they’re a fantastic way to get the kids involved in the kitchen, making memories while creating a delicious dessert!
Print
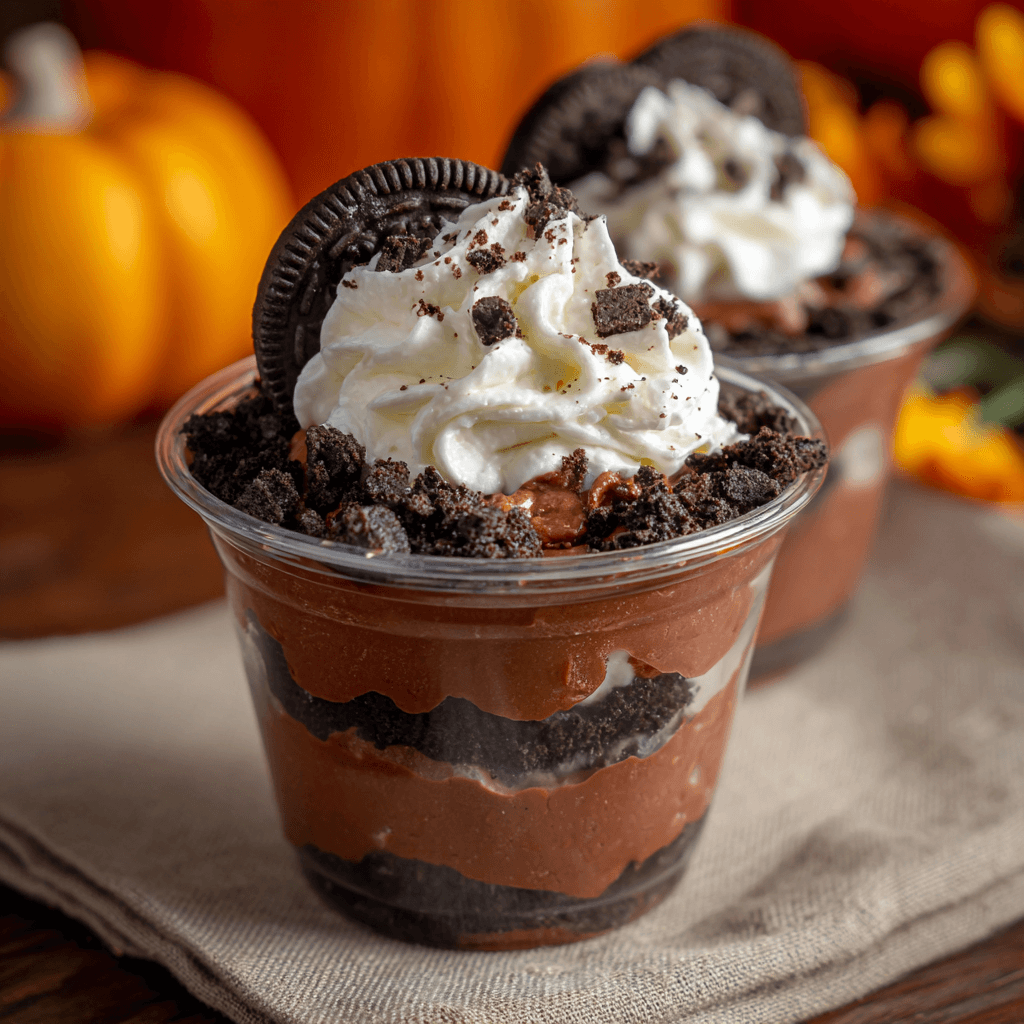
Make these fun Halloween dirt cups kids will adore!
- Total Time: 45 minutes (including chilling time)
- Yield: 4 servings 1x
- Diet: Vegetarian
Description
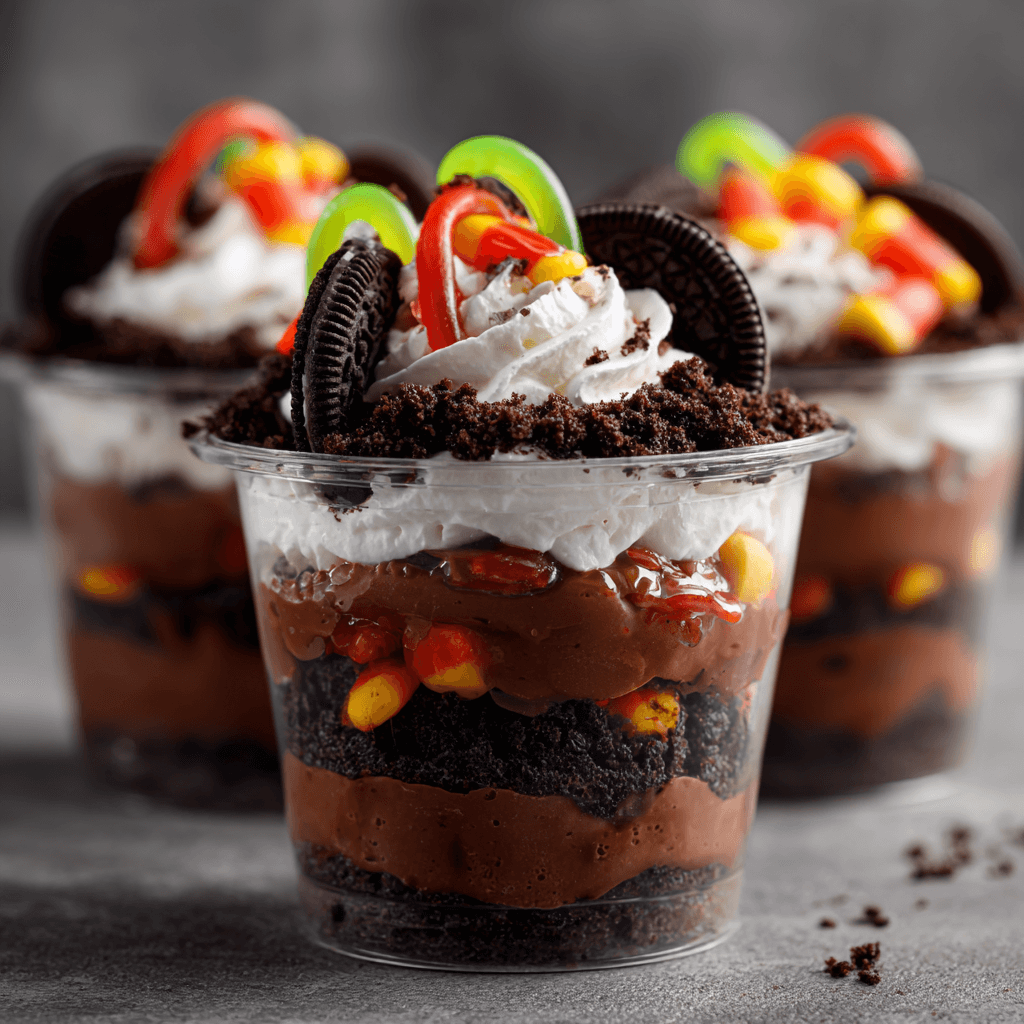
A fun and spooky dessert perfect for Halloween, these dirt cups are sure to delight kids with their delicious layers and creepy toppings.
Ingredients
- 1 package of chocolate pudding mix
- 2 cups of milk
- 1 package of Oreo cookies, crushed
- 1 cup of whipped cream
- Gummy worms for decoration
- Plastic cups for serving
Instructions
- In a mixing bowl, combine the chocolate pudding mix and milk. Whisk until smooth and let it sit for 5 minutes to thicken.
- In a separate bowl, fold the whipped cream into the pudding mixture until well combined.
- In plastic cups, layer the crushed Oreo cookies at the bottom.
- Add a layer of the chocolate pudding mixture on top of the Oreos.
- Repeat the layers until the cups are filled, finishing with a layer of crushed Oreos on top.
- Decorate with gummy worms on top of the final layer of Oreos.
- Chill in the refrigerator for at least 30 minutes before serving.
Notes
- For a more spooky effect, you can add candy eyes on top of the cups.
- These cups can be made a day in advance and stored in the refrigerator.
- Feel free to customize the toppings with other Halloween-themed candies.
- Prep Time: 15 minutes
- Cook Time: 0 minutes
- Category: Dessert
- Method: No-bake
- Cuisine: American
Nutrition
- Serving Size: 1 cup
- Calories: 250
- Sugar: 20g
- Sodium: 150mg
- Fat: 10g
- Saturated Fat: 5g
- Unsaturated Fat: 3g
- Trans Fat: 0g
- Carbohydrates: 35g
- Fiber: 2g
- Protein: 4g
- Cholesterol: 20mg
Keywords: Halloween, dirt cups, kids dessert, spooky treats
Table of Contents
Why You’ll Love This Halloween Dirt Cups Recipe
These Halloween dirt cups are a lifesaver for busy moms like me! They come together in just 15 minutes, making them perfect for last-minute treats. The kids will adore the fun layers and spooky decorations, while you’ll appreciate how simple and stress-free they are to make. Plus, they’re a deliciously sweet way to celebrate Halloween without spending hours in the kitchen. What’s not to love?
Ingredients for Make These Fun Halloween Dirt Cups for a Treat the Kids Will Love
Gathering the right ingredients is half the fun! Here’s what you’ll need to create these delightful Halloween dirt cups:
- Chocolate pudding mix: This is the star of the show, providing that rich, creamy base that kids love.
- Milk: Essential for mixing with the pudding to achieve that smooth texture. You can use any type of milk you prefer!
- Oreo cookies: Crushed to create a deliciously crunchy layer that mimics dirt. Feel free to use any chocolate sandwich cookie if Oreos aren’t your thing.
- Whipped cream: This adds a light, fluffy element to the pudding, making it even more irresistible.
- Gummy worms: These creepy crawlers are the perfect spooky touch for decorating your cups. Kids will love them!
- Plastic cups: Ideal for serving these treats. They’re easy to handle and perfect for little hands.
For an extra spooky effect, consider adding candy eyes on top of the cups. You can also customize the toppings with other Halloween-themed candies, like candy corn or chocolate spiders. The ingredient quantities are available at the bottom of the article for easy printing!
How to Make These Fun Halloween Dirt Cups for a Treat the Kids Will Love
Step 1: Prepare the Pudding Mixture
Start by grabbing a mixing bowl. Combine the chocolate pudding mix and milk. Whisk it all together until it’s smooth and creamy. This is where the magic begins! Let the mixture sit for about 5 minutes. This allows it to thicken up nicely, creating that luscious pudding texture kids adore.
Step 2: Fold in the Whipped Cream
Next, take a separate bowl and add your whipped cream. Gently fold it into the pudding mixture. Use a spatula to combine them without deflating the whipped cream. This step is crucial for achieving that light and fluffy consistency. You want it to be well blended but still airy!
Step 3: Layer the Oreo Cookies
Now, it’s time to build your dirt cups! Grab your plastic cups and start layering. Add a generous layer of crushed Oreo cookies at the bottom of each cup. This crunchy layer mimics dirt and adds a delightful texture. The kids will love digging into this part!
Step 4: Add the Pudding Layer
On top of the Oreo layer, spoon in a layer of your chocolate pudding mixture. Spread it evenly, making sure it covers the cookies completely. This is where the creamy goodness shines through. The contrast between the pudding and Oreos is simply irresistible!
Step 5: Repeat the Layers
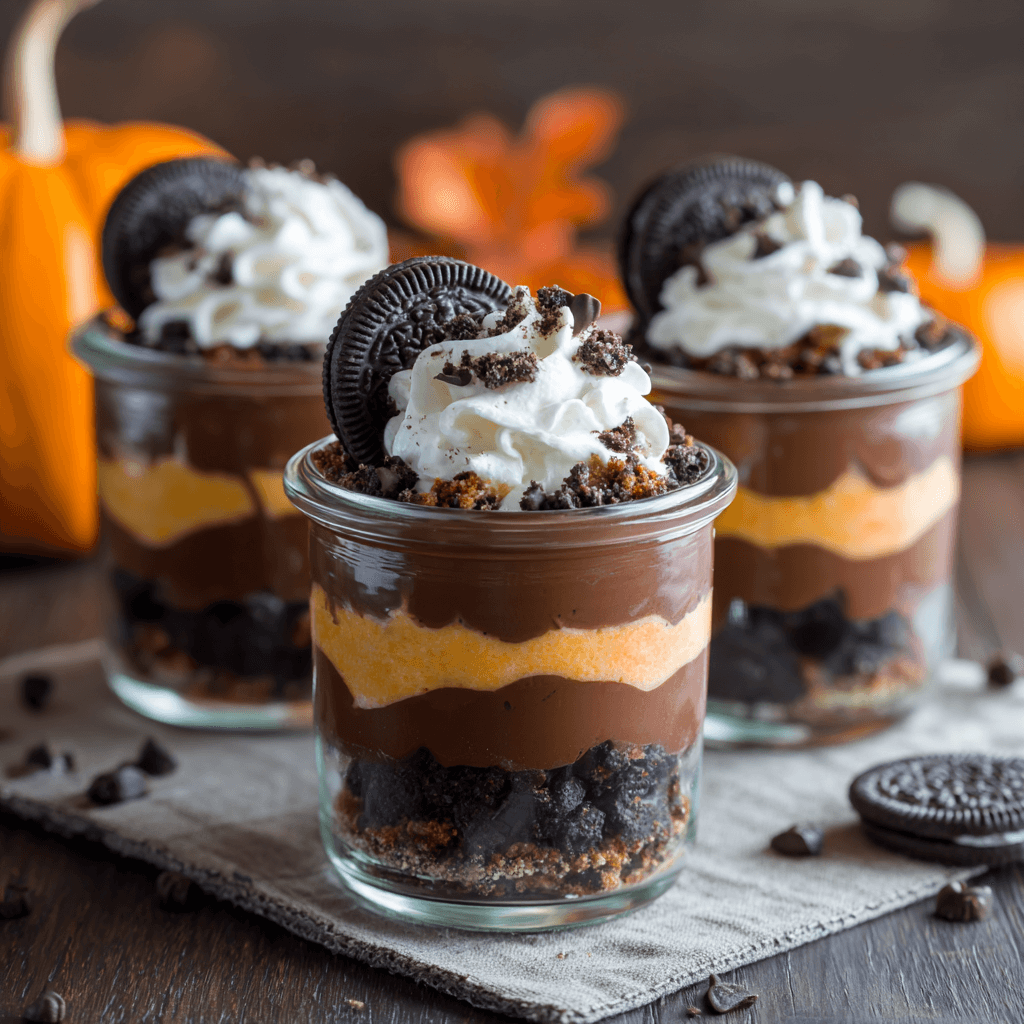
Continue to repeat the layers until your cups are filled to the brim. Start with another layer of crushed Oreos, followed by more pudding. Finish off with a final layer of crushed Oreos on top. This creates a beautiful, layered effect that’s as fun to look at as it is to eat!
Step 6: Decorate with Gummy Worms
Now for the fun part—decorating! Take your gummy worms and place them on top of the final layer of Oreos. Let them wiggle and squirm, adding that spooky touch that makes these cups perfect for Halloween. The kids will get a kick out of this creepy decoration!
Step 7: Chill Before Serving
Finally, pop your dirt cups into the refrigerator. Let them chill for at least 30 minutes. This step is important as it allows the flavors to meld together and the pudding to set. Plus, it makes for a refreshing treat when you’re ready to serve!
Tips for Success
- Use a whisk for the pudding to ensure a smooth texture.
- Don’t rush the chilling time; it enhances the flavors.
- Involve the kids in crushing Oreos for a fun activity!
- Experiment with different toppings like sprinkles or chocolate shavings.
- Make these cups a day ahead for a stress-free Halloween party!
Equipment Needed for Make These Fun Halloween Dirt Cups for a Treat the Kids Will Love
- Mixing bowls: Use any size you have on hand; even a large measuring cup works!
- Whisk: A hand whisk is perfect, but a fork can do the trick too.
- Spatula: Essential for folding in the whipped cream; a spoon can work in a pinch.
- Plastic cups: Any clear cups will showcase the layers beautifully; mason jars are a fun alternative!
Variations of Halloween Dirt Cups
- Chocolate Mint Dirt Cups: Add a few drops of peppermint extract to the pudding mixture for a refreshing twist.
- Vegan Version: Substitute the chocolate pudding mix with a vegan alternative and use coconut milk for a dairy-free treat.
- Fruit Layer: Incorporate a layer of mashed bananas or pureed pumpkin between the pudding and Oreos for added flavor and nutrition.
- Gluten-Free Option: Use gluten-free chocolate sandwich cookies to make these dirt cups suitable for gluten-sensitive kids.
- Spooky Color Theme: Use colored pudding, like green or orange, to match your Halloween theme while keeping the same delicious layers.
Serving Suggestions for Make These Fun Halloween Dirt Cups for a Treat the Kids Will Love
- Pair with spooky-themed cookies, like ghost-shaped sugar cookies, for a festive touch.
- Serve alongside a punch made with orange soda and gummy worms for a fun drink.
- Present the cups on a Halloween-themed platter for an eye-catching display.
- Consider adding a few candy pumpkins for extra decoration and sweetness.
For more recipes follow me in page Facebook and Pinterest
FAQs about Make These Fun Halloween Dirt Cups for a Treat the Kids Will Love
Can I make these Halloween dirt cups in advance?
Absolutely! You can prepare these cups a day ahead. Just store them in the refrigerator until you’re ready to serve. This makes them a perfect treat for busy moms!
What can I use instead of Oreo cookies?
If Oreos aren’t your favorite, feel free to use any chocolate sandwich cookies. You can even try graham crackers for a different texture!
How can I make these dirt cups healthier?
To make a healthier version, consider using sugar-free pudding mix and low-fat whipped cream. You can also add a layer of fruit for added nutrition!
Can I customize the toppings?
Definitely! Get creative with your toppings. You can use candy corn, chocolate spiders, or even edible glitter for a magical touch!
How long do these dirt cups last in the fridge?
These cups can last up to 3 days in the refrigerator. Just make sure they’re covered to keep them fresh and delicious!
Final Thoughts on Make These Fun Halloween Dirt Cups for a Treat the Kids Will Love
Making these fun Halloween dirt cups is more than just whipping up a dessert; it’s about creating joyful moments with your kids. The laughter, the messy hands, and the excitement of decorating each cup bring a special kind of magic to the kitchen. As they dig into their spooky treats, you’ll see their faces light up with delight. This recipe is a simple way to celebrate Halloween while making lasting memories. So, gather your ingredients, invite the kids to help, and enjoy the sweet chaos that comes with making these delightful dirt cups together!