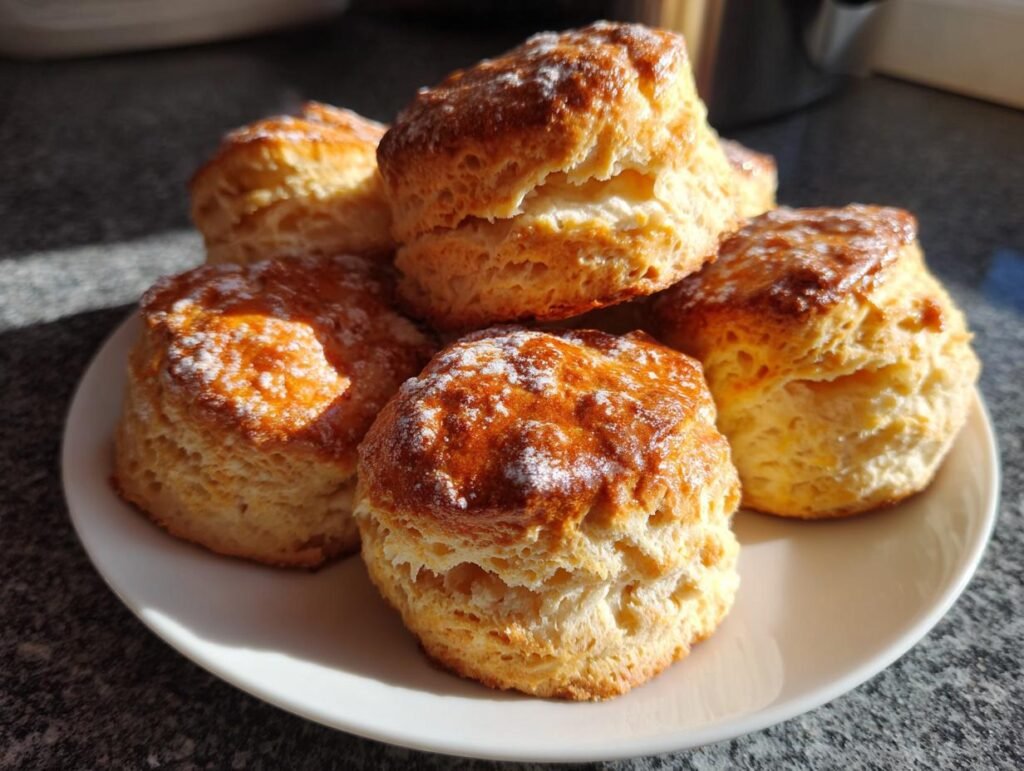
There’s something truly delightful about classic scones, isn’t there? These light and flaky pastries are a staple in my kitchen, and I can’t help but smile every time I bake a batch. The golden crust gives way to a tender, buttery interior that practically melts in your mouth. Whether I’m enjoying them with a steaming cup of tea or serving them at a cozy breakfast, scones always bring a touch of elegance to the table. What I love most about this Classic Scone Recipe is how simple it is – you can whip them up in no time, making them perfect for any occasion. Trust me, once you get that whiff of freshly baked scones wafting through your home, you’ll understand why they hold a special place in my heart (and on my plate!).
Ingredients List
Gathering the right ingredients is the first step to creating these delightful classic scones. Here’s what you’ll need:
- 2 cups all-purpose flour
- 1/4 cup granulated sugar
- 1 tablespoon baking powder
- 1/2 teaspoon salt
- 1/2 cup cold unsalted butter, cut into small cubes
- 1/2 cup heavy cream or buttermilk, plus more for brushing
- 1 large egg
- 1 teaspoon vanilla extract (optional)
- Optional: 1/2 cup add-ins (dried fruit, chocolate chips, or nuts)
Make sure your butter is nice and cold – it’s crucial for those flaky layers we all love. Let’s get ready to bake!
How to Prepare the Classic Scone Recipe
Prepping the Oven and Ingredients
First things first, let’s get that oven preheated! Set it to 400°F (200°C) so it’s nice and hot when those scones are ready to go in. While the oven warms up, I like to line a baking sheet with parchment paper. This little step makes cleanup a breeze and helps the scones bake evenly. Gather all your ingredients on the counter, and don’t forget to grab that cold butter from the fridge!
Mixing Dry Ingredients
Now, grab a large mixing bowl and whisk together the flour, sugar, baking powder, and salt. This step is crucial! You want to ensure everything is evenly distributed, which helps the scones rise beautifully. Take a moment here to really mix it well — a good blend of these dry ingredients sets the stage for your scones to reach their full potential!
Incorporating Butter
Next up, it’s time to cut in that cold butter. Add the cubes of butter to your dry mixture. Using a pastry cutter, or even your fingers, work the butter into the flour until it resembles coarse crumbs. You want those little pea-sized bits of butter to stay intact because they create those glorious flaky layers. Trust me, when you see that texture, you’ll know you’re on the right track!
Combining Wet and Dry Ingredients
In a separate bowl, whisk together the heavy cream (or buttermilk), egg, and vanilla extract if you’re using it. Now, here’s the fun part! Slowly pour those wet ingredients into the dry mixture. Gently stir until the dough just comes together — don’t overmix! The dough should be a bit shaggy; this is key to keeping the texture light and airy. If you’re adding any extras like dried fruit or chocolate chips, fold those in now!
Shaping the Dough
Turn your dough out onto a lightly floured surface. Pat it down into a disc about 1-inch thick. Don’t roll it out; just use your hands to shape it gently. The more you handle it, the tougher it can get, so be gentle! Once you’ve got that nice disc, you’re ready to move on to cutting.
Cutting and Baking
Now it’s time to cut those scones! You can either cut the disc into 8 wedges or use a round cutter for classic scone shapes. Place them on the prepared baking sheet, and here’s a pro tip: brush the tops with a bit of extra cream for that golden finish. Pop them in the oven for about 12-15 minutes, or until you see those edges turning a lovely golden brown. Oh, the smell of baking scones is simply irresistible! Let them cool for a few minutes before serving, and get ready to enjoy every last buttery bite.
Why You’ll Love This Recipe
- Quick and Easy: You can whip up these scones in just 30 minutes, making them perfect for a spontaneous breakfast or afternoon tea.
- Versatile Treat: Whether you enjoy them plain or with add-ins like dried fruit or chocolate chips, this recipe is super adaptable to your taste!
- Perfect Texture: The combination of cold butter and gentle handling ensures each scone is light, flaky, and absolutely melt-in-your-mouth delicious.
- Impressive Presentation: These classic scones look lovely on any table, making them a great choice for gatherings or special occasions.
- Endless Pairing Options: Serve them warm with butter, jam, or cream for a delightful treat that everyone will rave about!
Tips for Success
To ensure your classic scones turn out perfectly every time, here are some tried-and-true tips I swear by:
- Use Cold Butter: This is non-negotiable! Cold butter creates those lovely flaky layers we all crave. Keep it in the fridge until you’re ready to cut it in.
- Measure Accurately: Baking is a science, so make sure to measure your flour and sugar correctly. Too much flour can lead to dry scones, while too little might make them too wet.
- Handle the Dough Gently: Remember, the more you work the dough, the tougher the scones will be. Mix just until everything is combined, and don’t be afraid to leave some flour streaks!
- Don’t Skip the Rest: If you have time, let the shaped dough rest in the fridge for about 15 minutes before baking. This helps the butter firm up again and can give you an even better rise.
- Brush with Cream: For that beautiful golden shine, brush the tops of your scones with a little extra cream before they go in the oven. It makes all the difference!
- Experiment with Flavors: Feel free to get creative with your add-ins! Dried fruits, chocolate chips, or even a hint of citrus zest can take these scones to the next level.
With these tips in your back pocket, you’ll be a scone-making pro in no time! Happy baking!
Nutritional Information
Before you dive into these delicious classic scones, it’s good to know what’s in them! Here’s a snapshot of the estimated nutritional values per scone:
- Calories: 250
- Fat: 12g
- Saturated Fat: 7g
- Unsaturated Fat: 4g
- Trans Fat: 0g
- Cholesterol: 50mg
- Sodium: 200mg
- Carbohydrates: 30g
- Fiber: 1g
- Sugar: 5g
- Protein: 4g
Please keep in mind that these values can vary based on the specific ingredients and brands you use. It’s always a good idea to check the labels if you’re keeping a close eye on your nutrition. Enjoy your scones guilt-free, knowing they’re not just tasty but also a delightful addition to your day!

FAQ Section
Got questions about making the perfect classic scones? I’ve got you covered! Here are some common inquiries I often hear, along with my best answers:
- Can I use whole wheat flour instead of all-purpose flour? Absolutely! You can substitute a portion of the all-purpose flour with whole wheat flour for a nuttier flavor and added fiber. Just be aware that this may slightly change the texture, so you might need to add a touch more liquid.
- Do I have to add sugar to the scone dough? While sugar adds a nice sweetness, you can reduce the amount or even omit it if you prefer a savory scone. Just remember, it will affect the overall flavor, so consider adding herbs or cheese for a tasty twist!
- What can I add to the classic scone recipe for extra flavor? The possibilities are endless! You can stir in dried fruits like cranberries or apricots, chocolate chips for a sweet indulgence, or even nuts for a delightful crunch. Get creative and make it your own!
- How do I know when my scones are done baking? You’ll want to look for a lovely golden brown color around the edges. A toothpick inserted into the center should come out clean or with a few moist crumbs. If it’s wet with batter, give them a couple more minutes.
- Can I freeze scones for later? Yes! You can freeze unbaked scones by placing them on a baking sheet first, then transferring them to a freezer-safe bag once frozen. When you’re ready to enjoy, bake them straight from the freezer; just add a couple of extra minutes to the baking time!
With these answers, I hope you feel more confident tackling your classic scone recipe. Happy baking, and enjoy every bite of those delicious, flaky pastries!
Storage & Reheating Instructions
Once you’ve baked a delicious batch of classic scones, you’ll want to make sure they stay fresh for as long as possible. Here’s how to store and reheat them so you can enjoy that delightful taste again!
To store your leftover scones, let them cool completely on a wire rack first. Once they’re cooled, place them in an airtight container. You can also wrap them individually in plastic wrap for an extra layer of protection against drying out. If you have a lot, consider freezing some for later! Just pop them into a freezer-safe bag, and they’ll be good for about a month.
When you’re ready to enjoy your scones again, reheating is key to bringing back that fresh-baked flavor. If they’re at room temperature, you can warm them in a preheated oven at 350°F (175°C) for about 5-10 minutes. This will restore their lovely texture and warmth. If you’re in a hurry, a quick 20-30 seconds in the microwave will do the trick, but be careful not to overdo it – we don’t want them turning tough!
Whether you’re savoring them fresh or reheated, these classic scones are sure to bring joy to your breakfast or tea time any day. Happy snacking!
For more recipes follow me in page Facebook and Pinterest.
Print
Classic Scone Recipe: 5 Secrets for Flaky Perfection
- Total Time: 30 minutes
- Yield: 8 scones 1x
- Diet: Vegetarian
Description
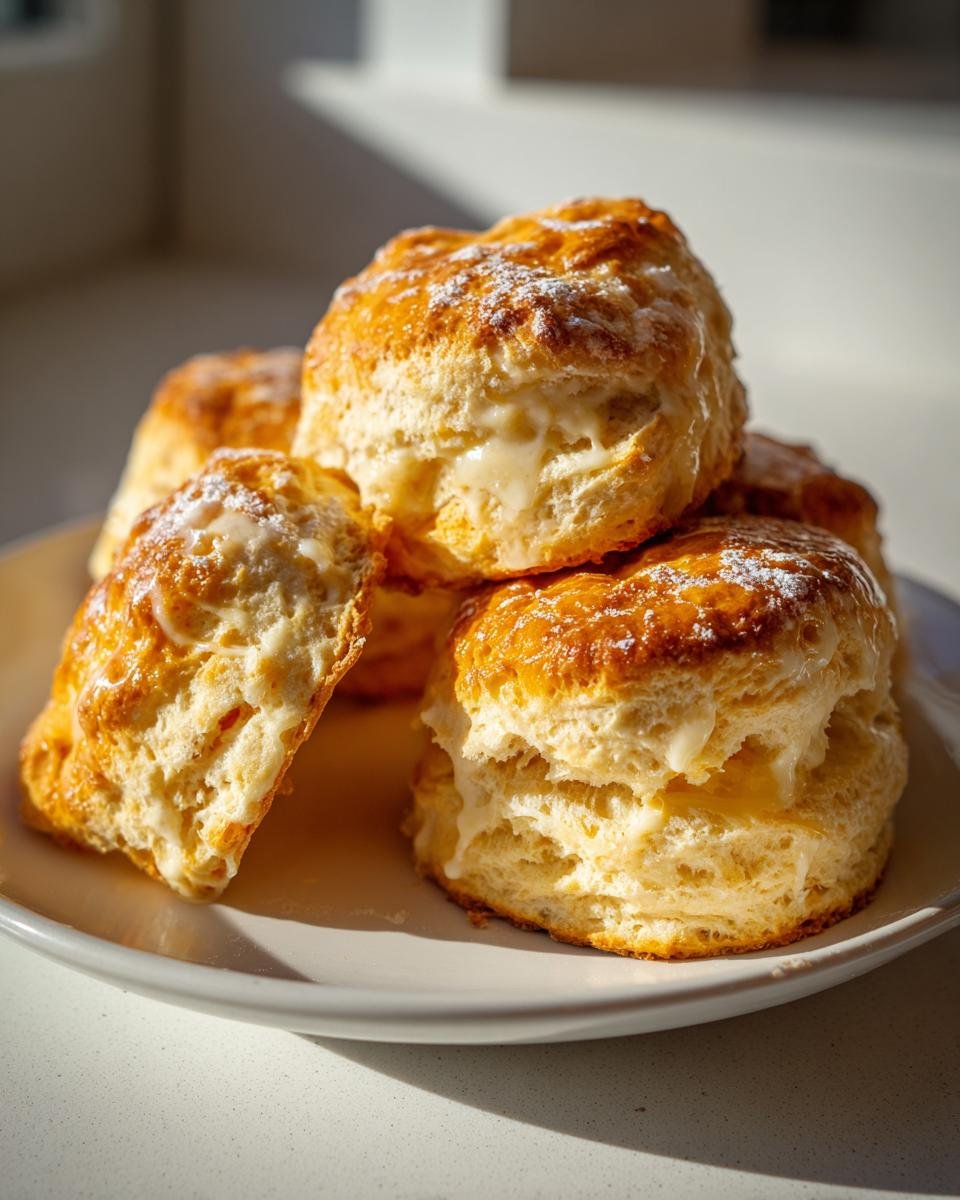
Classic scones are light, flaky pastries that are perfect for breakfast or tea time.
Ingredients
- 2 cups all-purpose flour
- 1/4 cup granulated sugar
- 1 tablespoon baking powder
- 1/2 teaspoon salt
- 1/2 cup cold unsalted butter, cut into small cubes
- 1/2 cup heavy cream or buttermilk, plus more for brushing
- 1 large egg
- 1 teaspoon vanilla extract (optional)
- Optional: 1/2 cup add-ins (dried fruit, chocolate chips, or nuts)
Instructions
- Preheat the oven to 400°F (200°C). Line a baking sheet with parchment paper.
- In a large bowl, whisk together the flour, sugar, baking powder, and salt.
- Add the cold butter cubes to the dry ingredients. Cut the butter in using a pastry cutter or your fingers until the mixture resembles coarse crumbs with pea-sized butter pieces.
- In a separate bowl, whisk together the heavy cream (or buttermilk), egg, and vanilla extract if using.
- Slowly pour the wet ingredients into the dry mixture. Stir gently until the dough just comes together. Do not overmix.
- If using add-ins, gently fold them into the dough.
- Turn the dough onto a lightly floured surface and pat it into a 1-inch thick disc.
- Cut into 8 wedges or use a round cutter for classic scones.
- Place the scones on the prepared baking sheet and brush the tops with extra cream.
- Bake for 12–15 minutes, or until the scones are golden brown around the edges.
- Let cool for a few minutes before serving.
Notes
- Cold butter is key for flaky scones.
- Handle the dough gently to keep the texture light.
- Serve warm with butter, jam, or cream.
- Prep Time: 15 minutes
- Cook Time: 15 minutes
- Category: Bakery
- Method: Baking
- Cuisine: British
Nutrition
- Serving Size: 1 scone
- Calories: 250
- Sugar: 5g
- Sodium: 200mg
- Fat: 12g
- Saturated Fat: 7g
- Unsaturated Fat: 4g
- Trans Fat: 0g
- Carbohydrates: 30g
- Fiber: 1g
- Protein: 4g
- Cholesterol: 50mg
Keywords: scone, classic scone recipe, baking, pastries