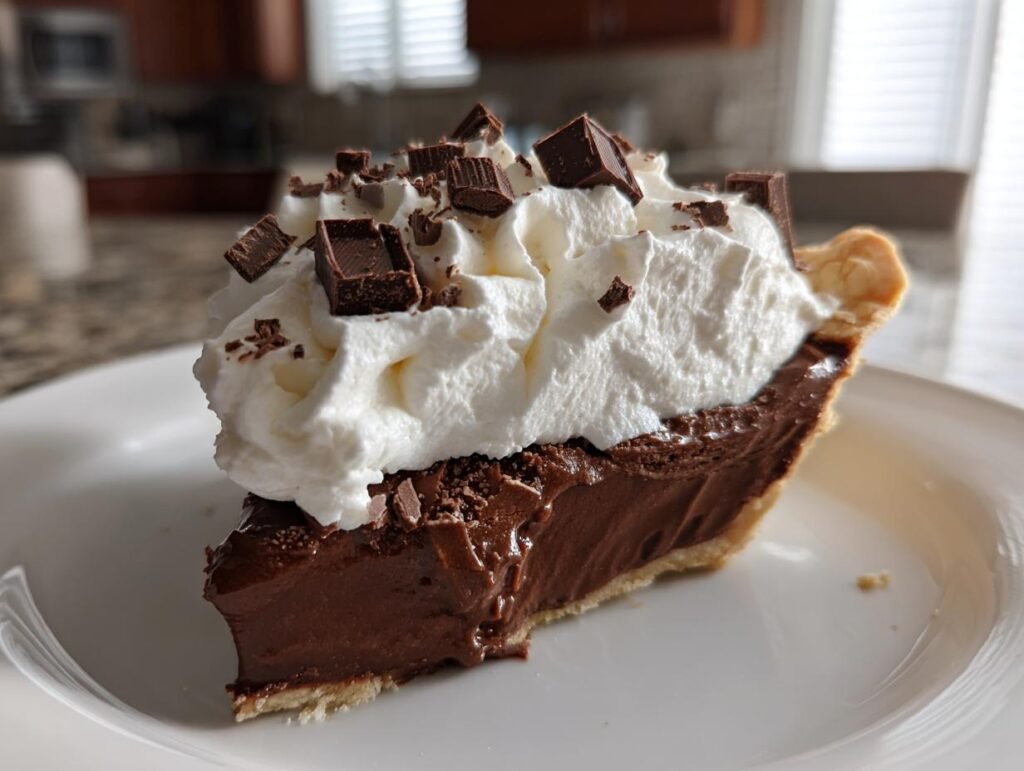
Oh my goodness, let me tell you about the magic of Chocolate Cream Pie! Every time I whip up this dessert, I’m instantly taken back to those cozy family gatherings where laughter filled the air and the rich, velvety aroma of chocolate enveloped us like a warm hug. The first bite is always an explosion of creamy chocolate bliss that just melts in your mouth, and I can never resist going back for a second slice (or third)! What makes this pie truly special is its luscious filling, made from semi-sweet chocolate and freshly whipped cream, creating a perfect harmony of flavors and textures. It’s the kind of dessert that brings everyone together, sparking joy and indulgence. Trust me, once you taste this Chocolate Cream Pie, you’ll be dreaming about it long after the last slice is gone! It’s a classic for a reason, and I can’t wait to share how you can make it at home.
Ingredients List
- 1 Pie Crust, Prepared
- ¾ cup granulated sugar
- ¼ cup cornstarch
- 1 pinch salt
- 2 egg yolks
- 3 cups whole milk
- 8 ounces semi-sweet chocolate, chopped
- 4 tablespoons unsalted butter
- 1 teaspoon vanilla extract
- 2 cups whipped cream, optional
How to Prepare Chocolate Cream Pie
Step-by-Step Instructions
Alright, let’s dive into making this Chocolate Cream Pie! I promise, once you get the hang of it, you’ll be whipping it up like a pro. The process is straightforward, but be sure to pay attention to a few key details that will make all the difference!
First, start by grabbing a medium-sized saucepan. In it, whisk together the cornstarch, granulated sugar, and that pinch of salt. This mixture is the base of your pudding, and you don’t want any clumps here! Next, whisk in the egg yolks and whole milk until everything is fully combined. Make sure you really mix it well; we don’t want any surprises when we start cooking!
Now, here’s where the magic happens. Add in the chopped semi-sweet chocolate and give it a good stir. Turn the heat to medium and bring the mixture to a gentle simmer, whisking constantly. Seriously, don’t step away! This part is crucial because we need the pudding to thicken just right — about 8 minutes of constant stirring should do the trick. If you notice it starting to bubble, lower the heat a bit. You want it thick, but not boiling.
Once it’s thickened beautifully, remove it from the heat and pour the mixture through a mesh strainer into a bowl. This step is a game changer! It ensures a silky-smooth texture, catching any bits that didn’t dissolve. Then, whisk in the unsalted butter and vanilla extract until it’s all melted and combined. You’re going to want to dive in and taste it, but hold on just a moment!
Carefully pour the chocolate pudding into your prepared pie crust. Make sure it’s evenly distributed, and then let it cool at room temperature for about 30 minutes. Once it’s cooled a bit, cover the pie with plastic wrap and pop it in the refrigerator to chill for at least 3 hours. Overnight is even better if you can wait! This chilling time allows those flavors to deepen and meld together, making it even more delicious.
Cooking the Pudding Mixture
Ah, the art of cooking the pudding mixture! This part is where you really have to channel your inner whisking ninja. As the mixture heats up, keep an eye on it and whisk continuously. The goal here is to create a silky, thick pudding without any lumps. If you stop whisking, you run the risk of the pudding sticking to the bottom of the pan or forming those pesky lumps. When it starts to thicken, you’ll notice it begins to pull away slightly from the sides of the pan. That’s your cue that it’s almost there! Just a little more patience, and you’ll have that rich, chocolatey goodness ready to go.
Assembling the Pie
Now for the fun part — assembling your pie! Once the pudding is thick and creamy, pour it into the prepared pie crust. Use a spatula to spread it evenly, making sure to get into all the corners. After that, let it cool at room temperature for about 30 minutes. It’s super important to let it cool before you refrigerate; otherwise, you might end up with condensation on top of your pie, and nobody wants that! Once it’s cooled down, cover it with plastic wrap and then pop it into the fridge for at least 3 hours. Trust me, the longer it chills, the better it gets. You want it to set just right so that when it’s time to serve, it’s perfectly sliceable and oh-so-delicious!
Nutritional Information
Alright, let’s talk numbers for this delicious Chocolate Cream Pie! Now, keep in mind that these are estimated values, but they give you a good idea of what you’re indulging in. Here’s the breakdown per slice:
- Calories: 678
- Fat: 39g
- Saturated Fat: 21g
- Unsaturated Fat: 15g
- Trans Fat: 0.3g
- Protein: 10g
- Carbohydrates: 72g
- Sugar: 46g
- Fiber: 4g
- Sodium: 238mg
- Cholesterol: 117mg
So, while this pie is definitely a decadent treat, it also packs a punch of flavor and satisfaction! Enjoy every rich bite, knowing exactly what you’re savoring!
Why You’ll Love This Recipe
- Irresistible Taste: The rich, creamy chocolate filling paired with a flaky crust creates a dessert that’s pure bliss in every bite.
- Easy to Prepare: With simple ingredients and straightforward steps, even novice bakers can master this classic pie!
- Perfect for Any Occasion: Whether it’s a family gathering, a holiday celebration, or just a cozy night in, this Chocolate Cream Pie fits right in.
- Make-Ahead Friendly: It can be made a day in advance, giving you more time to enjoy your guests or relax.
- Customizable: Add your favorite toppings or flavor twists to make it uniquely yours, from nuts to flavored extracts!
- Always a Crowd-Pleaser: This dessert brings smiles and satisfied sighs from everyone at the table—who can resist chocolate?
Tips for Success
Alright, let’s make sure your Chocolate Cream Pie turns out absolutely perfect! I’ve got some tried-and-true tips that will help you nail this recipe every single time.
Quality Ingredients Matter
First things first, don’t skimp on your ingredients! Use high-quality semi-sweet chocolate, as it makes a huge difference in flavor. I love using a good brand that I know melts smoothly. And for that rich, creamy filling, whole milk is a must—trust me, you’ll notice if you try to cut corners with skim milk or alternatives!
Perfect Chilling Time
Be patient with the chilling process! Allowing the pie to sit in the refrigerator for at least 3 hours is essential for that perfect texture. If you can manage to wait overnight, even better! The flavors meld beautifully and the filling sets up just right, making it easier to slice. I know it’s tempting, but resist the urge to dig in too soon!
Serving Suggestions
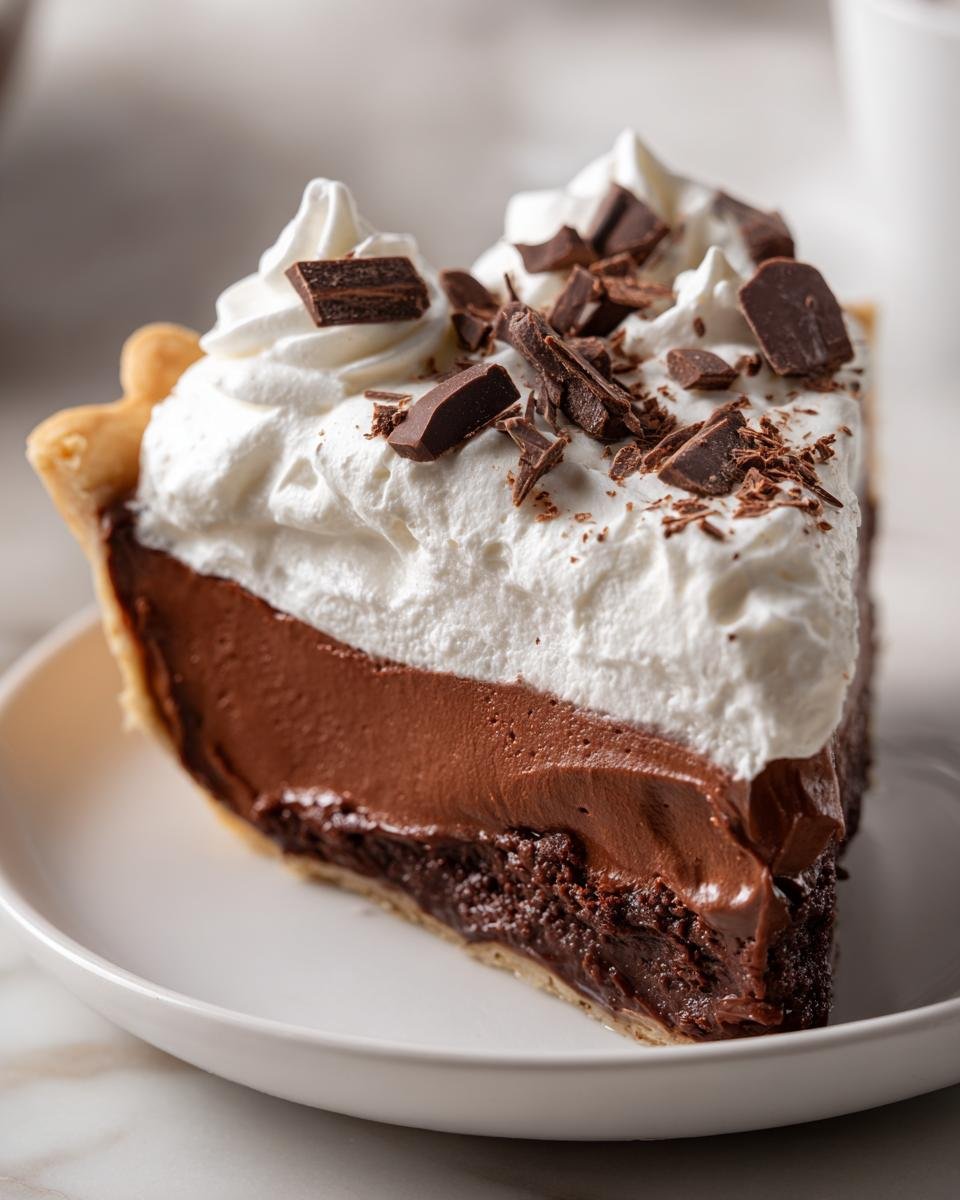
When it’s time to serve, I love to pile on the whipped cream—like, really pile it on! It not only looks gorgeous but adds a lightness that contrasts beautifully with the rich chocolate. You can even sprinkle some chocolate shavings or a drizzle of chocolate sauce on top for an extra special touch. And don’t forget to serve it chilled; it’s so refreshing that way!
Storing Leftovers
If you happen to have leftovers (which is rare, I know!), cover the pie tightly with plastic wrap and keep it in the fridge. It stays delicious for up to 3 days, but trust me, it rarely lasts that long! Just remember to keep it chilled until you’re ready to enjoy another slice.
Following these tips will help ensure you create a Chocolate Cream Pie that’s not only delicious but also a showstopper at your gatherings. Enjoy the process and, most importantly, enjoy every bite!
Variations of Chocolate Cream Pie
Oh, the possibilities with Chocolate Cream Pie are endless! If you’re feeling adventurous or just want to mix things up a bit, here are some delightful variations that can take this classic dessert to a whole new level.
Different Chocolate Types
Why stick with just semi-sweet chocolate? You can experiment with dark chocolate for a richer flavor or even use milk chocolate if you prefer something sweeter and creamier. If you’re a true chocolate aficionado, try a combination of both! Just remember to adjust the sugar slightly based on the sweetness of the chocolate you choose.
Flavor Extracts for a Twist
For a fun twist, consider adding flavored extracts to your pudding mixture. A splash of almond extract can add a lovely nutty depth, while a hint of peppermint extract creates a festive vibe—perfect for the holidays! Just be cautious and start with a small amount; you can always add more, but you can’t take it out once it’s in!
Incorporating Different Toppings
While whipped cream is a classic topping, don’t be afraid to get creative! Try adding a layer of chocolate ganache on top for an extra indulgent finish. You could also swirl in some peanut butter for a decadent peanut butter-chocolate combo that’s to die for! And let’s not forget about fresh berries—strawberries or raspberries not only look gorgeous but also add a refreshing tartness that pairs beautifully with the rich chocolate.
Adding Crunch with Nuts or Cookies
If you’re a fan of texture, consider incorporating crushed nuts like pecans or walnuts for a delightful crunch. You can even sprinkle some crushed cookies, like Oreos or graham crackers, on top for added flavor and texture. It’s like a little surprise in every bite!
Going Dairy-Free
If you need to make it dairy-free, swap the whole milk for a dairy-free alternative like almond milk or coconut milk. Just make sure to choose a version that’s unsweetened so you can control the sweetness of your pie. And for the whipped cream, there are fantastic coconut cream options that whip up beautifully!
With these variations, your Chocolate Cream Pie can be a new experience every time you make it. Don’t hesitate to get creative and make this recipe your own! Each twist will bring something unique to the table and leave your guests craving more!
Serving Suggestions
When it comes to serving your decadent Chocolate Cream Pie, I like to think of it as the star of the show, but every star needs a great supporting cast! Here are some delightful dishes and drinks that pair perfectly with this rich dessert, creating a complete and satisfying experience for you and your guests.
Perfect Pairings
- Fresh Berries: A handful of fresh raspberries or strawberries on the side not only adds a pop of color but also brings a refreshing tartness that complements the chocolate beautifully. You can even toss them in a little sugar to enhance their sweetness!
- Ice Cream: You can never go wrong with a scoop of vanilla or caramel ice cream alongside your pie! The cold creaminess is a delightful contrast to the rich chocolate filling, and it melts into each bite. For an extra twist, try adding a scoop of coffee-flavored ice cream for a mocha experience.
- Chocolate Sauce: Drizzling some warm chocolate sauce over the pie before serving takes indulgence to a whole new level! It adds an extra layer of chocolatey goodness that chocolate lovers will swoon over.
- Homemade Whipped Cream: Of course, you can’t go wrong with a generous dollop of freshly whipped cream on top! For an extra special touch, add a splash of vanilla or a sprinkle of cocoa powder for an elegant finish.
Beverage Pairings
Now let’s talk about drinks! Pairing the right beverage can elevate your dessert experience:
- Coffee: A rich cup of freshly brewed coffee balances the sweetness of the pie. The slight bitterness of the coffee enhances the chocolate flavors, making for a perfect match!
- Red Wine: If you’re feeling fancy, a glass of fruity red wine, like a Merlot or Port, pairs beautifully with chocolate desserts. The deep flavors of the wine compliment the richness of the pie.
- Milk: You can’t go wrong with a classic glass of cold milk! It’s a nostalgic pairing that brings back memories of childhood and complements the pie’s creamy texture.
Garnishing Ideas
Finally, don’t forget about garnishing! Here are some fun ideas to make your Chocolate Cream Pie look as amazing as it tastes:
- Chocolate Shavings: Use a vegetable peeler to create beautiful chocolate curls from a chocolate bar and sprinkle them on top of your whipped cream for an elegant touch.
- Mint Leaves: A sprig of fresh mint adds a lovely burst of color and a hint of freshness. It’s a simple yet sophisticated addition that looks stunning!
- Crushed Nuts: Sprinkle some chopped nuts like almonds or hazelnuts for a crunchy contrast that adds texture and flavor to each slice.
With these serving suggestions, your Chocolate Cream Pie will definitely be a crowd-pleaser! Enjoy creating a delightful dessert experience that will have everyone coming back for seconds (or thirds!)!
Storage & Reheating Instructions
Alright, let’s talk about how to properly store your delicious Chocolate Cream Pie to keep it fresh and tasty! If you happen to have any leftovers (which is a rare occurrence, I know!), you’ll want to make sure they’re stored correctly. Here’s what you need to do:
First off, cover the pie tightly with plastic wrap or aluminum foil. This helps prevent it from absorbing any odors from the fridge and keeps that creamy chocolate goodness intact. If you’ve got a pie carrier, that works great too! Just ensure it’s sealed well to maintain freshness.
Store your pie in the refrigerator, and it’ll stay good for up to 3 days. I recommend enjoying it within that timeframe for the best texture and flavor. The longer it sits, the more the filling may start to lose its creamy texture, so try to finish it off quickly if you can!
Now, if you find yourself with leftover pie and you want to reheat some of it, here’s how to do it without sacrificing that deliciousness. I suggest cutting a slice and placing it on a microwave-safe plate. Heat it in the microwave on low power for about 15-20 seconds at a time. Keep an eye on it, as you don’t want to overheat it—just enough to take the chill off and make it slightly warm. The chocolate filling will be extra luscious when warmed up!
However, if you’re looking to enjoy it cold, just take it straight from the fridge and serve! Trust me, there’s something magical about that chilled, creamy texture. It’s all about personal preference!
With these simple storage and reheating tips, you can enjoy your Chocolate Cream Pie for days to come, savoring every last bite of that rich chocolate delight!
For more recipes follow me in page Pinterest.
Print
Chocolate Cream Pie: 7 Blissful Reasons to Indulge
- Total Time: 3 hours 35 minutes
- Yield: 8 servings 1x
- Diet: Vegetarian
Description
A rich and creamy chocolate pie with a smooth filling and whipped cream topping.
Ingredients
- 1 Pie Crust Prepared
- ¾ cup sugar granulated
- ¼ cup cornstarch
- 1 Pinch salt
- 2 egg yolks
- 3 cups milk whole
- 8 ounces semi-sweet chocolate chopped
- 4 tablespoons butter unsalted
- 1 teaspoon vanilla extract
- 2 cups Whipped Cream optional
Instructions
- Whisk together cornstarch, sugar, and salt.
- Whisk in the egg yolks and milk until fully combined.
- Add in the chopped chocolate.
- Turn on the heat to medium and cook the mixture, whisking constantly.
- Cook until the pudding has completely thickened, about 8 minutes.
- Remove from heat; pour through a mesh strainer into a bowl.
- Whisk in the butter and the extract until combined.
- Pour the pudding into the prepared pie crust.
- Let cool at room temperature before chilling in the refrigerator for at least 3 hours.
- Scoop whipped cream on top of the pie and spread evenly.
- Garnish with additional pieces of chopped chocolate.
Notes
- Keep chilled until ready to serve.
- For best results, refrigerate overnight.
- Prep Time: 20 minutes
- Cook Time: 15 minutes
- Category: Dessert
- Method: Stovetop and Chilling
- Cuisine: American
Nutrition
- Serving Size: 1 slice
- Calories: 678
- Sugar: 46g
- Sodium: 238mg
- Fat: 39g
- Saturated Fat: 21g
- Unsaturated Fat: 15g
- Trans Fat: 0.3g
- Carbohydrates: 72g
- Fiber: 4g
- Protein: 10g
- Cholesterol: 117mg
Keywords: Chocolate Cream Pie