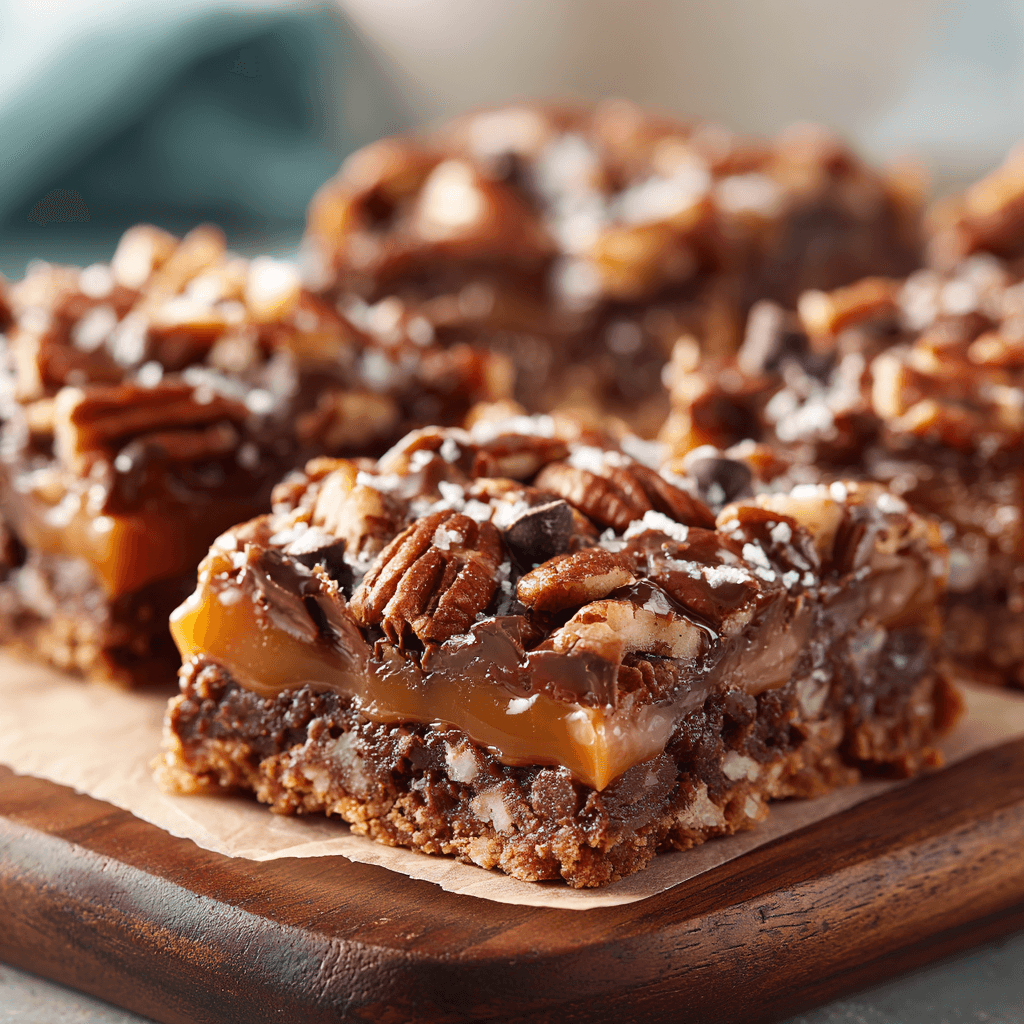
As a busy mom, I know how precious time can be, especially when it comes to whipping up something sweet. That’s why I absolutely adore these Easy Turtle Bars! They’re a delightful blend of chocolate, caramel, and nuts, making them a perfect treat for any occasion. Whether you need a quick dessert for a family gathering or a sweet surprise for your loved ones, these bars are your go-to solution. With just a few simple ingredients and minimal effort, you can create a dessert that will have everyone asking for seconds!
Print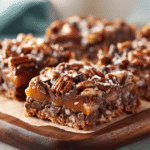
Easy Turtle Bars: Discover Your New Favorite Dessert!
- Total Time: 40 minutes
- Yield: 24 bars 1x
- Diet: Vegetarian
Description
Easy Turtle Bars are a delicious dessert combining chocolate, caramel, and nuts, perfect for any occasion.
Ingredients
- 1 cup unsalted butter
- 1 cup brown sugar
- 2 cups all-purpose flour
- 1 cup chocolate chips
- 1 cup chopped pecans
- 1 cup caramel sauce
Instructions
- Preheat the oven to 350°F (175°C).
- In a mixing bowl, cream together the butter and brown sugar until smooth.
- Add the flour and mix until combined.
- Press the mixture into the bottom of a greased baking pan.
- Bake for 15 minutes, then remove from the oven.
- Sprinkle chocolate chips and pecans over the baked crust.
- Drizzle caramel sauce over the top.
- Return to the oven and bake for an additional 10-15 minutes.
- Allow to cool before cutting into bars.
Notes
- Store in an airtight container for up to a week.
- Can be served warm or at room temperature.
- Feel free to substitute walnuts for pecans if desired.
- Prep Time: 15 minutes
- Cook Time: 25 minutes
- Category: Dessert
- Method: Baking
- Cuisine: American
Nutrition
- Serving Size: 1 bar
- Calories: 250
- Sugar: 20g
- Sodium: 150mg
- Fat: 12g
- Saturated Fat: 7g
- Unsaturated Fat: 3g
- Trans Fat: 0g
- Carbohydrates: 30g
- Fiber: 1g
- Protein: 3g
- Cholesterol: 30mg
Keywords: Easy Turtle Bars, dessert, chocolate, caramel, pecans
Table of Contents
Why You’ll Love This Easy Turtle Bars
These Easy Turtle Bars are not just a treat; they’re a lifesaver for busy days! With a prep time of only 15 minutes, you can have a delicious dessert ready in no time. The combination of rich chocolate, gooey caramel, and crunchy pecans creates a flavor explosion that’s hard to resist. Plus, they’re perfect for sharing, making them a hit at any gathering. Trust me, your family will be begging for more!
Ingredients for Easy Turtle Bars
Gathering the right ingredients is the first step to creating these scrumptious Easy Turtle Bars. Here’s what you’ll need:
- Unsalted butter: This adds richness and moisture to the bars. Make sure it’s softened for easy mixing.
- Brown sugar: It brings a lovely caramel flavor and helps keep the bars chewy. Light or dark, both work well!
- All-purpose flour: The backbone of the recipe, it gives structure to the bars. You can substitute with gluten-free flour if needed.
- Chocolate chips: These are the stars of the show! Use semi-sweet or dark chocolate for a richer taste.
- Chopped pecans: They add a delightful crunch and nutty flavor. If you’re not a fan, walnuts are a great alternative.
- Caramel sauce: This gooey goodness ties everything together. You can use store-bought or homemade, depending on your time.
For exact measurements, check the bottom of the article where you can find a printable version of the recipe. Happy baking!
How to Make Easy Turtle Bars
Now that you have your ingredients ready, let’s dive into the fun part—making these Easy Turtle Bars! Follow these simple steps, and you’ll have a delicious dessert in no time.
Step 1: Preheat the Oven
First things first, preheat your oven to 350°F (175°C). Preheating is crucial because it ensures even baking. If you skip this step, your bars might not cook properly, leading to a gooey mess instead of a delightful treat!
Step 2: Cream the Butter and Sugar
In a mixing bowl, cream together the softened unsalted butter and brown sugar until smooth. This process is essential for creating a light and fluffy texture. The sugar should dissolve into the butter, making it creamy and inviting. Trust me, this step sets the stage for the perfect bars!
Step 3: Combine the Flour
Next, add the all-purpose flour to the butter mixture. Mix it in gently until just combined. Be careful not to overmix, as this can lead to tough bars. You want a soft dough that holds together beautifully. It’s like a warm hug for your taste buds!
Step 4: Press into the Baking Pan
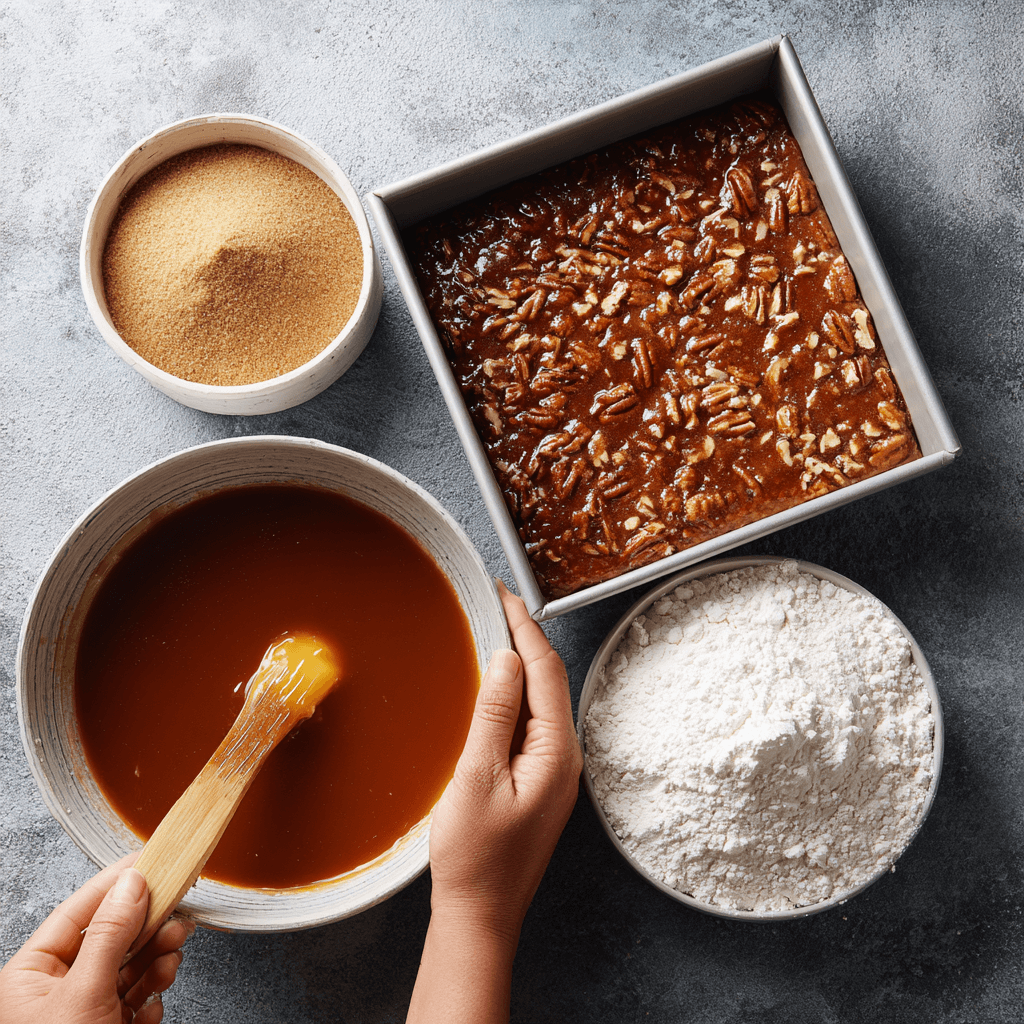
Now, it’s time to press the mixture into a greased baking pan. Use your hands or a spatula to spread it evenly across the bottom. Make sure it’s packed down well, so the bars hold their shape. Think of it as creating a cozy foundation for all those delicious toppings!
Step 5: Bake the Base
Pop the pan into the oven and bake for about 15 minutes. You’ll know it’s done when the edges are lightly golden. This step is crucial because it creates a sturdy base for your Easy Turtle Bars. Keep an eye on it; you don’t want to overbake!
Step 6: Add Toppings
Once the base is baked, remove it from the oven and sprinkle the chocolate chips and chopped pecans evenly over the top. This is where the magic happens! The chocolate will melt slightly, creating a luscious layer that pairs perfectly with the crunchy nuts.
Step 7: Drizzle with Caramel
Now, take your caramel sauce and drizzle it generously over the chocolate and pecans. For an even distribution, use a spoon or squeeze bottle. This gooey goodness is what makes these bars truly irresistible. It’s like a sweet waterfall cascading over your creation!
Step 8: Final Bake
Return the pan to the oven and bake for an additional 10-15 minutes. This second baking phase allows the toppings to meld together beautifully. You’ll want to watch for that perfect golden-brown color. The aroma will fill your kitchen, making it hard to resist sneaking a taste!
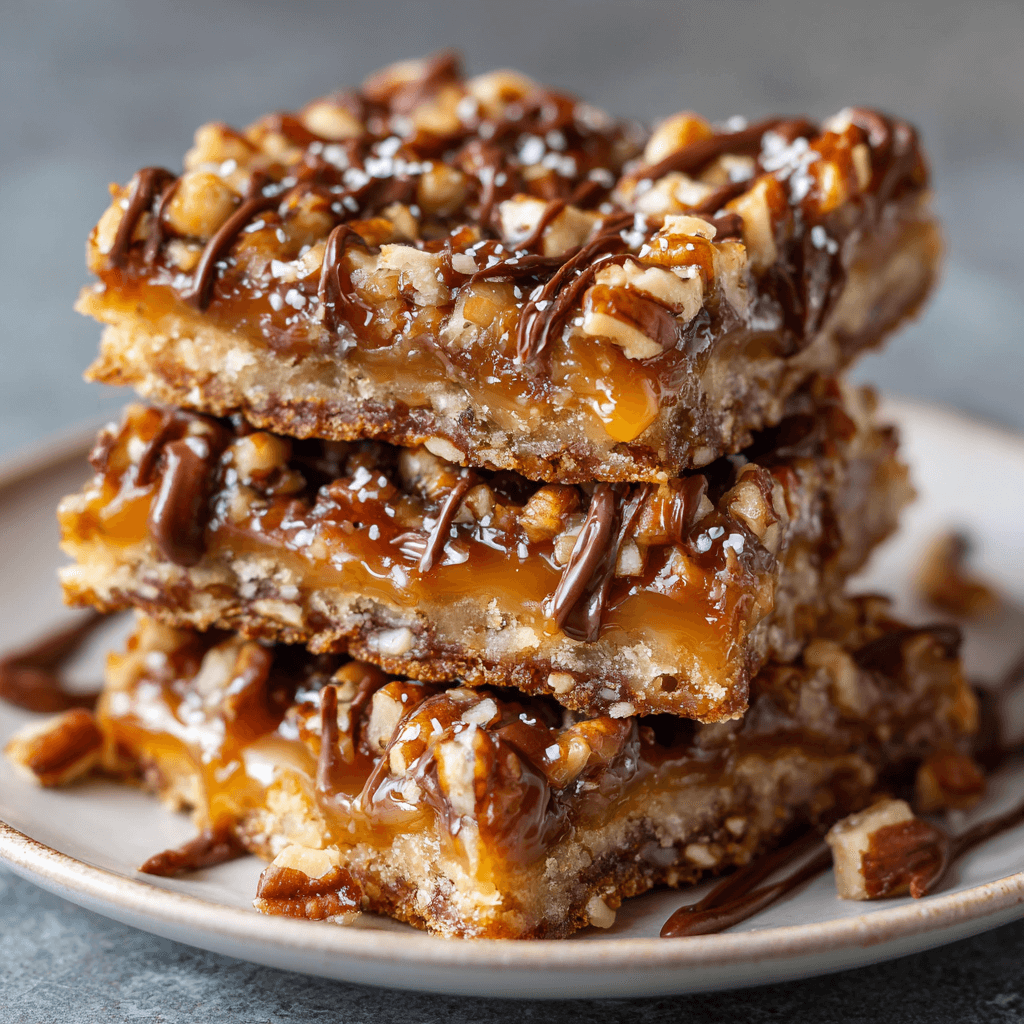
Step 9: Cool and Cut
Once baked, let the bars cool in the pan for about 10 minutes. Then, transfer them to a wire rack to cool completely. This cooling process is essential for cutting them into neat bars. Use a sharp knife for clean edges, and enjoy the fruits of your labor!
Tips for Success
- Make sure your butter is softened for easy mixing.
- Don’t overmix the dough; it should be soft and slightly sticky.
- Use a spatula to evenly press the mixture into the pan.
- Let the bars cool completely before cutting for clean edges.
- Store leftovers in an airtight container to keep them fresh.
Equipment Needed
- Baking pan: A 9×13 inch pan works best, but an 8×8 inch pan is a good alternative for thicker bars.
- Mixing bowl: Any large bowl will do; a stand mixer can save time.
- Spatula: Use a rubber spatula for easy mixing and spreading.
- Wire rack: This helps cool the bars evenly; a plate can work in a pinch.
Variations of Easy Turtle Bars
- Nut-Free: Omit the pecans and replace them with sunflower seeds for a nut-free option that still adds crunch.
- Gluten-Free: Substitute all-purpose flour with a gluten-free blend to make these bars suitable for gluten-sensitive friends.
- Vegan: Use vegan butter and dairy-free chocolate chips to create a plant-based version of these delicious bars.
- Salted Caramel: Add a sprinkle of sea salt on top of the caramel drizzle for a sweet and salty flavor explosion.
- Chocolate Lovers: Double the amount of chocolate chips for an extra indulgent treat that will satisfy any chocolate craving!
Serving Suggestions for Easy Turtle Bars
- Pair with a scoop of vanilla ice cream for a delightful contrast of temperatures.
- Serve with a drizzle of extra caramel sauce for an indulgent touch.
- Garnish with whipped cream and a sprinkle of chopped pecans for a beautiful presentation.
- Enjoy with a cup of coffee or a glass of milk to balance the sweetness.
- Cut into smaller squares for a perfect bite-sized treat at gatherings.
For more recipes follow me in page Facebook and Pinterest
FAQs about Easy Turtle Bars
As you embark on your baking adventure with these Easy Turtle Bars, you might have a few questions. Here are some common queries I’ve encountered, along with helpful answers to guide you along the way!
Can I make Easy Turtle Bars ahead of time?
Absolutely! These bars can be made a day in advance. Just store them in an airtight container at room temperature. They’ll stay fresh and delicious, ready to impress your family or guests!
What can I use instead of pecans?
If pecans aren’t your thing, walnuts are a fantastic substitute. You can also try using almonds or even skip the nuts altogether for a nut-free version. The bars will still be delightful!
How do I store leftover Easy Turtle Bars?
To keep your bars fresh, store them in an airtight container. They’ll last up to a week at room temperature. If you want to keep them longer, you can freeze them for up to three months!
Can I use homemade caramel sauce?
Definitely! Homemade caramel sauce adds a personal touch and can elevate the flavor of your Easy Turtle Bars. Just make sure it’s cooled slightly before drizzling over the bars.
What’s the best way to cut the bars?
For clean cuts, use a sharp knife and let the bars cool completely. If you want to make it easier, you can also use a plastic knife, which helps prevent sticking!
Final Thoughts
Making these Easy Turtle Bars is more than just baking; it’s about creating sweet memories in the kitchen. The joy of watching your family’s faces light up as they take that first bite is priceless. With their rich flavors and delightful textures, these bars are sure to become a staple in your dessert repertoire. Plus, they’re so easy to whip up, even on the busiest days! So, gather your ingredients, roll up your sleeves, and let the magic happen. Trust me, you’ll be savoring every delicious moment, and your loved ones will thank you for it!